Netgear Nighthawk X6S Manual Setup: A Complete Guide
Professional gamers prefer to have an internet connection without any kind of interruption. There are specific gaming routers that remove all the interruption and provide a hassle-free gaming experience. Thus, if you are interested in this domain then you must also prefer to enjoy the buffering-free online gaming experience. With the help of this gaming router, live streaming on multiple devices is easily done. Netgear Nighthawk x6s ac4000 is one of the most renowned gaming routers among all the other gaming routers all over the world.
It delivers a speed of 2.6 Gbps internet speed to all the connected devices. But it is quite difficult to set up the router. Well, here you will get a complete guide for setting up the Netgear router manually. Go through each and every step to avoid any kind of issue.
Let us have a look at the different steps for setting up the Netgear ac4000. These steps are quite easy to understand and apply.
Setting Up the Nighthawk x6s ac4000: 9 Simple Process
The setup process for the Netgear Nighthawk x6s contains mainly 9 steps. Go through each to them to know more about the router.
-
Verify the Antennas
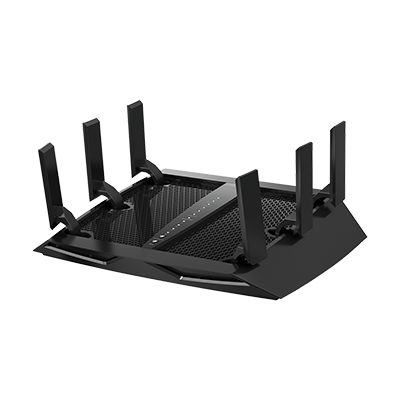
The antennas of the router are placed in such a manner that it provides the best WiFi performance. The antennas of these routers are present vertically at 90 degrees. There are 6 antennas in the Nighthawk x6s.
-
Power On the Modem
Do not plug the modem inside the switchboard in the beginning. If the plug is connected to the power supply, then simply unplug it immediately. If you notice any battery backup system present within the router, then just remove the batteries from the router.
-
Connect the Modem
At first, you have to connect the modem to the router first. After that provide power to the router or connect the batteries to the router.
To connect the router to the modem, all you have to do is simply connect the cable of the modem to the yellow port that is present at the back of the router.
-
Check the LEDs of the Router
You will find an LED on/off slider at the back of the router. All you have to do is just slide the button from off to on.
-
Provide Power to the Router
As soon as you turn On the router by sliding the button to start, you will see the Power LED light starts blinking. After a while, the light turns white which indicates that the router is ready or not.
If the power LED does not turn white then simply follow the steps that are given above for one more time.
-
Connect the Device
This step can be done either way. One is by using the Ethernet cable and another is the WiFi connection. For connecting the router with your device, use an ethernet cable.
Plug one end of the ethernet cable at the back of the router and another one at the ethernet port of your PC or Laptop.
For connecting the router with your device over the WiFi, all you have to do is select the WiFi name and enter all the credentials (username and password). You might find these credentials at the product label (present at the base of the router).
The next step for the Nighthawk x6s setup is to log into the router. Let us see how to log into the router.
-
Log Into the Router for Nighthawk x6s ac4000 Setup
For logging into the router, firstly launch the web browser in your device (PC or Laptop). The first thing that will appear on the screen is the Genie Screen. The steps for connecting the device to the internet via Genie is given below.
Follow them accordingly:
On the search bar present at the top of the web browser, enter the URL “www.routerlogin.net” and hit enter.
The Login page will open. There you have to enter the user name and password for your router. The default username and password are “admin” and “Password” respectively.
After successfully logging in, the Home Screen Tab will open. If the internet connection is not set up yet, Genie will automatically connect the internet connection of your device.
Note- If the Genie screen does not open, restart the browser and check again. Also, check if the Power LED of the router is blinking and the ethernet cable is connected properly.
-
Enter the WiFi Name and Password for Nighthawk x6s ac4000 Setup
The SSID and the Network Key is the WiFi Name and Password for your Nighthawk x6s. Further, different routers have different WiFi name and password and they are quite unique. These modern routers have automatic WiFi security, manual input is not necessary. (You will find these details at the label present at the bottom of your router).
It is recommended that one uses the default WiFi settings that are already present. Changing it may raise certain issues as well.
Apart from that if you change the settings, you have to remember them in order to solve further issues with your router. The details of the SSID and Network Key of the router are present inside the Netgear Nighthawk Manual.
-
Join the WiFi Network
This step also consists of two parts. The first one is the WiFi Protected Setup (WPS) and the other one is the manual process. The manual process consists of entering the password for the WiFi manually. Though the WPS process is more reliable. You can also change the password in the future.
Thus, these are the 9 steps essential for setting up the Netgear Nighthawk x6s ac4000. I hope you find this guide helpful.