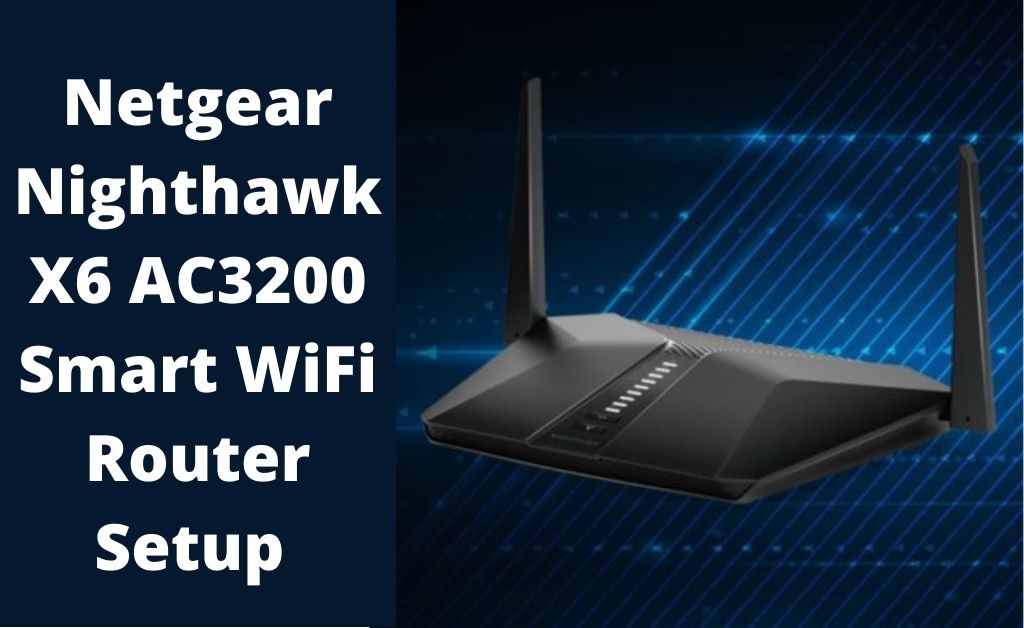
Netgear Nighthawk X6 AC3200 Setup Guide
Netgear Nighthawk X6 AC3200 router comes with a powerful combination of setup features. It’s a wireless speed (up to 3.2 Gbps), Dynamic QoS, and 3 Wi-Fi bands that ensure all the connected devices are attached through the fastest wireless connection.

But, to make this device work efficiently and smoothly, first, you will have to perform the Netgear Nighthawk X6 AC3200 setup. Here, we are about to discuss the easy steps through which you will be able to log into your Nighthawk X6 AC3200 router on your own.
How to Setup Netgear Nighthawk AC3200?
You can log into the Netgear Nighthawk X6 AC3200 router either through your computer or smartphone device. Both methods are explained below. So, you have a look at the steps discussed below:
How to Perform Netgear Nighthawk X6 Router Login on Smartphone?
These steps can help you to perform the Netgear AC3200 setup by using the Netgear Nighthawk application.
- First of all, attach the antennas that come with your router.
- Afterward, you will have to attach the modem to the internet port of the device.
- Download and install the Netgear Nighthawk application on your smartphone.
- Once the app is successfully installed on your mobile device, open it.
- Now, complete the further process by following the on-screen instructions.
How to Setup the Nighthawk X6 AC3200 Router Using your PC?
To log into the Netgear Nighthawk X6 AC3200 router by using your computer, you can have a look at the steps mentioned below:
Step 1: Configure the Router
In the beginning, connect the router physically. To do this, remove all the cables that are connected to the computer. Then, connect the modem power adapter and then check if the power indicator starts blinking to ensure that the modem is turned On.
Now, you have to connect the router. Attach one end of the Ethernet wire to the Ethernet port of the modem. Then, attach the other terminal of the Ethernet cable to the Internet port of the router. The Internet port of the router is located slightly apart from the other ports of the device.
After that, you have to connect the computer with your Netgear router. Connect one end of the Ethernet cable with the system and the other terminal to the Netgear Nighthawk X6 AC3200 router.
Now, plug the power cable of the router into the power supply. Check the power indicator to ensure that the device is turned On.
Step 2: Router Login
Open a web browser on your computer and then go to the login page of the Netgear router. Now, you will be asked to enter the login credentials. So, type the Username and Password in the respective field.
Afterward, tap on the ‘Login’ button to continue. It will redirect you to the Home screen of the router.
Note: If you see that the default login credentials are not working, then you might have to change the login details previously. So, you can perform a factory reset of the device.
It will reset the device to its factory default settings. Once you enter the setup portal of the Netgear router, you can complete the further process by following the on-screen prompts.
Steps for Nighthawk X6 R8000 Firmware Update
After completing the setup procedure it is essential to perform a Nighthawk X6 R8000 firmware update. It can help you to solve several setup problems with your Netgear router.
Furthermore, it will also provide more functionalities to the device. Here are the steps you can follow to update the Nighthawk X6 R8000 firmware:
- In the beginning, open a web browser and go to Download Center to search for the latest firmware version.
- Go to the search bar and then type “Netgear r800 firmware”. Hit the Enter key from the keyboard to search for the latest firmware.
- Once it shows the details about the latest firmware, tap on the Download button.
- Now, connect the system with your router with the help of an Ethernet cable.
- Go to ‘routerlogin.net’. Provide your login details in the corresponding field and then click on the ‘Login’ button.
- Go to the Administrator section. Then, navigate to the Advanced tab.
- After that, click on the ‘Firmware Update’ button. Afterward, tap on the Upload option and then choose the newly downloaded file.
- Wait for a few seconds until the installation process is complete.
Hopefully, the above steps will help you to perform Netgear Nighthawk X6 AC3200 Setup. If you want to read more topics on the Netgear router, you can follow our website regularly.
