3 Ways to Change NAT Type on PC

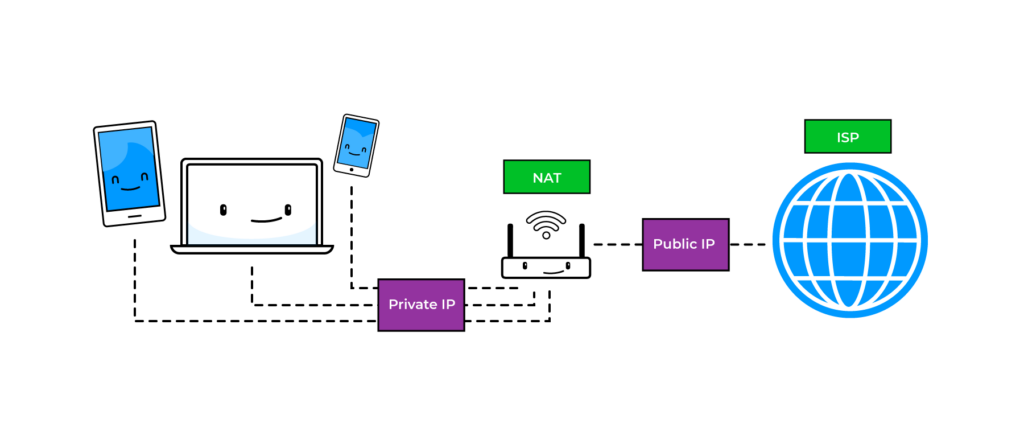
NAT or Network Address Translation is a dedicated service to translate IP addresses. There are different NAT types, and they function differently.
Why should anyone change NAT type PC? Modifying the NAT type on your PC efficiently makes a difference in the network traffic. For example, you might be experiencing lag in between high-end games.
And, you’ll be surprised to learn that an improper NAT type can cause such a lag while you are playing a game. As a consequence, you might lose important scores to win the game. Therefore, you can change NAT type PCs to eradicate such network frictions.
Apart from handling network traffic, NAT services add an additional layer of security to devices. It decides what can go into your network and what should come out of your network.
Hence, you should choose the right NAT type for your PC according to your requirements.
What are the Types of NAT Available for Switching?
You will find 3 possible NAT types to switch between – The Type 1 or Open NAT comes with no restriction at all. Any devices using this NAT type can send and receive data across the internet. Additionally, this is the fastest NAT type available for gamers. So, you can kick out the possibilities of getting lags if you switch to Open NAT. However, you will be compromising your security standards.
Whereas the Type 2 or Moderate NAT allows you to keep one or more ports open. However, there are certain restrictions and it will act as a firewall when a set of selected applications try to connect over the internet.
Users relying on Moderate NAT can only connect to devices that use either Open or Moderate NAT. You might experience lags in Moderate NAT compared to the Open one.
Now, coming to the Type 3 or Strict NAT, it strictly governs the data access permission. If you change NAT type PC to Strict, then you might face numerous difficulties while connecting to other devices or servers on the internet.
With the Strict NAT type enabled, you can only reach out to Open NAT devices. Additionally, you might experience the most lags in this NAT type.
How to Change NAT Type PC?
Since you are aware of the types of NAT available, you can decide on which one to stick to. Here are the possible ways to change NAT type PCs. Let’s get started:
Use Windows Network Discovery
If you acquire a Windows PC, then you can utilise the Network Discovery option. Here’s what you need to follow to change NAT type PCs.
- Hit the Windows key from the keyboard.
- Click the gear icon or Settings when the start menu appears.
- Select the Network & Internet option from the Settings window.
- Choose the Wi-Fi option from the left pane of the screen.
- Next, you have to click the option that says, ‘Change advanced sharing options’. It should be on the right pane of the window.
- After that, you have to toggle on the option that says, ‘Turn on network discovery’.
- Additionally, you have to check the box next to the option, ‘Turn on automatic setup of network-connected devices’.
Activate UPnP through Network Infrastructure
You can forward ports automatically once you enable the UPnP service. Ports are related to the incoming and outgoing web traffic. And, enabling the UPnP service, you need not manually activate port forwarding each time you require to change NAT type PCs.
However, you have to make changes to your router to enable the service. Here’s the general guideline that you need irrespective of the router model you use:
- Explore the My Computer icon or This PC option on the desktop screen. When the file explorer pops up, locate the Network option and click on it. It’s at the left-bottom corner of the window.
- Right-click the Network Infrastructure option. If the option doesn’t show up then continue to the next step.
- Opt for the Settings option followed by the Add button.
- Again, click on the Add button when the new window appears. Another window comes up and you need to provide a name in the first tab (Name of Service).
- In the second tab, you need to type in the IPv4 address of the network you’re using. Enter 28950 in the third tab and put UDP, as well.
- In the last tab, you have to enter 28950 again.
- Click the OK button and click the Add button again. Enter MW3 OPEN NAT in the first tab and the IP address in the second tab.
- The third tab should get 3074 along with the UDP protocol. The last tab should contain 3074 again.
- You can hit the OK button once you are done filling the details for the ports.
- Select the Apply button, and you can now quit all the windows.
Your NAT type has been changed to Open. It will be better if you restart your PC and network devices before you start working with a changed NAT type. Launch your applications or games to check if the speed has improved.
Try the Configuration File Method
If you want to change NAT type PC without making changes on your PC, then you can take the help of your router. You need to visit the web-based configuration panel of your router for this process.
Here’s what you have to follow:
- Sign in to the admin or configuration panel of your router.
- Look for the option that says, ‘Save or Restore Configuration’.
- Now, the location of this option might vary from one router model to another.
- Hence, you should refer to the user manual to search for that particular option.
- After you get the option, click on it.
- A new window should appear, and there should be an option named ‘backup configuration now’ – Click on it and wait for a while.
- Once a new window appears, you need to click the option that says, ‘Save the file’.
- Now, opt for the OK button and copy this file to a reliable location for backup purposes.
- Open the file and use the keyboard shortcut Ctrl+F. Type in ‘[connection.ini]’ to find that part in the file.
- After that, you have to search for the phrase ‘last bind’.
- Enter the following statement under the ‘last bind’ phrase: bind application=CONE (UDP) port=3074-3075.
- Under the previous statement, you have to provide the following statements:
- bind application=CONE (UDP) port=3478-3479
- bind application=CONE (UDP) port=3658
- Save the file using the text editor. Now, go to the router’s configuration page. Navigate to the new configuration file.
- Click on the ‘Restore Configuration Now’ option and wait for the changes to reflect.
Finally, you can close the router’s configuration panel and check if the NAT type has changed.
Conclusion
You can try the UPnP method on your router to change NAT type PCs. If you encounter issues while configuring your device, then seek expert intervention for the best results. Or, you can simply use a VPN to avoid such configuration tantrums.