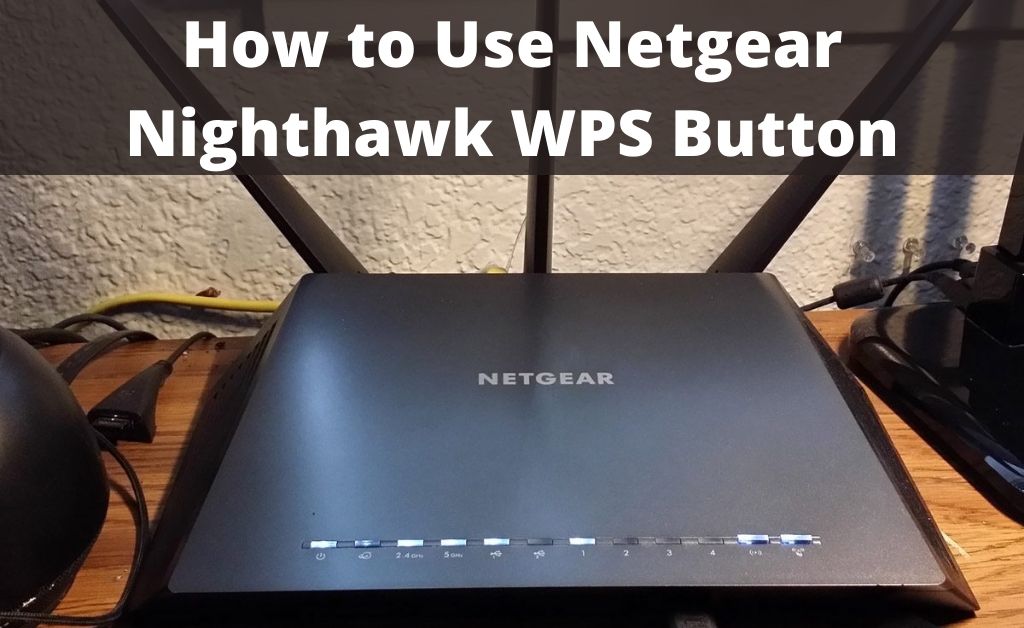
Know The Use Of WPS Button On Netgear Nighthawk Router [Updated]
Setting up security on a router is not really a big deal. WPS or WiFi Protected Setup is a feature that comes along with most of the routers that are nowadays available in the market. This feature specifically works for a wireless network and with the help of this, you can easily connect to a secure wireless network from your device.

Most of the router comes with a WPS button that is usually placed at the back of the router. But then, it’s location might vary with the different models of the router.
If you are a newbie and do not know how to use the Netgear WPS button, then go through the next section to know how to exactly use this WPS button on your Netgear router for your purpose.
Learn the Step-by-Step Process to Know How to Use WPS Button on Netgear Nighthawk Router:
There are some precautionary measures that you need to take before implementing this method, but once you successfully do so it becomes a simpler one. You need to push a button or type a pin and the SSID, encryption type, and security key are all generated automatically.
Let’s check out some basic points on the WPS button.
Generally, you can eliminate several errors through this button. All devices should support WPS but in Windows 7 it does not support. Windows 7 has a WiFi Protected setup client built into it.
However, if you do not know how to use the Netgear Nighthawk WPS button, then check out the steps mentioned in the section below.
Using the WPS Wizard:
The WPS Wizard helps you to add a wireless device or computer to the WiFi network without entering the WiFi password.
Let’s check out how to use the WPS button.
- First, you need to open a web browser on your computer or your mobile device. Make sure that your device is connected through the Netgear Nighthawk router.
- Thereafter, visit the official page of the router login page. When the login page appears on the system screen, you need to enter your router username and password in their respective field.
- If you did not change the username and password, then use the default username ‘Admin’ and default password ‘password’. Now, press the Login button and you will move on to the Home Page.
- Thereafter, select the Advanced option and then move to the WPS Wizard section. Now, click on the Next button.
- After that, select the Radio button to choose the setup method.
- PIN Number: After selecting the Radio button, enter the Security PIN in the client device and then click on the Next button.
- Push Button: When you select the Radio button, click on the page WPS button on the Netgear router.
- After a few minutes, move to the client device and use the WPS software to connect with the WiFi network.
Furthermore, the WPS process will automatically set up your client device. After establishing the connection properly, you will get a confirmation message on your screen.
Sometimes, users are unable to specify the WPS Settings. To specify the WPS settings, follow the steps mentioned in the section below.
- First, launch a web browser on your device that is connected with the Netgear Nighthawk router. Now, type the official login page of the router in the address bar and press the Enter button to move to the page.
- Next, enter the username and password in the corresponding field. Now, you will get the basic Home Screen display on the screen.
- Then, select the Advanced option and click on the Advanced Setup section. Thereafter, click on the Wireless Settings option.
After doing necessary changes in the Settings section, click on the Apply button. Now, the changes that you have made successfully on this router are saved properly.
Frequently Asked Questions
#1. Where is the WPS button on my router?
It depends on what product you are using. Most of the time, the WPS button is located on the back or front panel of the Netgear Nighthawk.
#2. Which lights should be on my Netgear router?
The LED light indicates the speed of the router.
The white or green color indicates the Gigabit Ethernet connection. And the amber color indicates 100 Mbps or 10 Mbps Ethernet connection.
- If all the lights are Off, this means that no device is connected to the Ethernet port.
- Solid means a powered-on device is connected to the Ethernet port.
- And the Blinking means the port is sending or receiving traffic.
#3. How do I turn off WPS?
In order to disable the WPS button, you need to login to the Router settings page by providing the username and password. Now, under the Wireless menu, press the WPS button. After that, a drop-down menu will appear on the system screen. From there, select the Disable option from the menu and then click on the Apply button.
