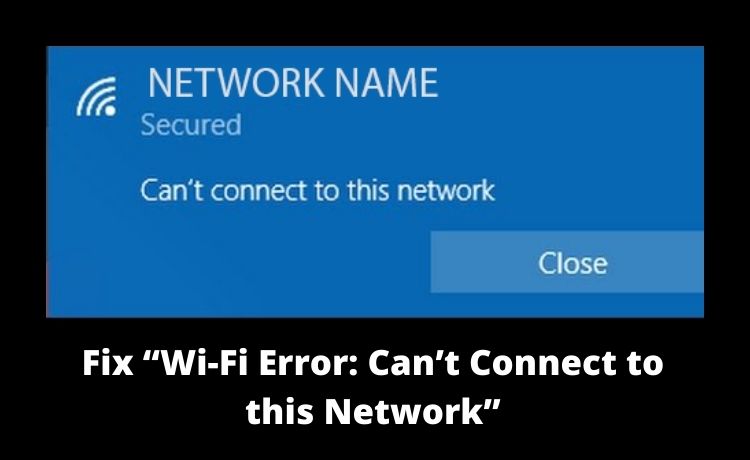
How to Fix “Wi-Fi Error: Can’t Connect to this Network”?

In this remote working environment, the dependency on the internet has increased. Starting from sending emails to attending meetings, you will need Wi-Fi for everything. However, sometimes, the device might refuse to connect with the wireless network. As a result, it will adversely affect daily office productivity. Thus, if you are experiencing the “Wi-Fi error: Can’t connect to this network”, try to fix it immediately. But, for that, it is important to acknowledge the root cause of this connectivity issue.
Usually, an outdated driver can prevent the device from connecting to Wi-Fi. Even a malware-infected file could be a potential reason behind this error. Did you update the laptop or PC software recently? It can sometimes conflict with the wireless connection. Make sure the Wi-Fi router or modem is not damaged. Because faulty routers won’t be able to connect the device with the Wi-Fi network. Try rebooting the router in the first place. And, if that doesn’t work, implement the following solutions:
Reset the Wi-Fi Network
When a device connects to a wireless network, it automatically saves its credentials. It helps to make future logins easier. But, if the ISP has changed the settings, then you won’t be able to connect the device with the Wi-Fi. In these instances, opt for resetting the wireless network. To do that, go to the Windows settings first.
Right after that, move to the search bar and write “Network & Internet”. Once you find that, tap on it, and then choose “Wi-Fi” from the next tab. Can you see the “Manage known networks” option here? Select that, and then tap on the right Wi-Fi name.
Then, choose the “Forget” button immediately. Furthermore, you have to look for the Wi-Fi name where the “can’t connect to this network” error is displayed. Choose that and provide the login credentials again. After this, you won’t get any further interruption in the Wi-Fi network. But, if the error persists, contact the internet service provider immediately.
Use the Airplane Mode
In the latest Windows laptops, there is an Airplane mode. And, you can use that to fix the ‘Wi-Fi error: can’t connect to this network” error. This feature allows the users to disconnect all the Wi-Fi connections of the device. Thus, you should try to enable and disable the Airplane mode to get back the connection. Here is how you can do that:
- Tap on the “Start” button first, and then choose the “Settings” option from the menu.
- In the “Settings” tab, there will be the “Network & Internet” option and select that.
- From the drop-down menu, choose “Airplane Mode”. Toggle on this option to stop all the wireless communication.
Wait for a while, and then disable the Airplane mode. Now, try to connect the laptop/PC with the selected Wi-Fi. If you face any issue, then check whether you have tapped on the correct W-Fi name. Choose the right one and use the internet without the “can’t connect to the network” error.
Uninstall and Reinstall the Network Adapter Driver
A corrupted network adapter driver can interfere with the wireless connection. Thus, if the problem is in the network adapter driver, consider uninstalling it. After that, install the latest version of the adapter driver in the device. Simply, follow the below-mentioned instructions to uninstall the network adapter driver:
- Start with pressing both the Windows and X keys simultaneously. When the menu pops up, select “Device Manager” from there.
- In the “Device Manager” tab, look for the “Network adapters” option. Then, right-click on the correct wireless driver name.
- Choose the “Uninstall device” option from the menu.
After removing the problematic network adapter driver, go to the Start button. And, write “cmd” in the search bar. Opt for choosing the “Command Prompt” option from the searched results. Right-click on it and choose the “Run as administrator” option from there.
After getting into the Command Prompt window, write “netcfg -d”. Don’t forget to hit the “Enter” button after that. It will reset the network settings and reinstall the network adapter drivers in the device. Furthermore, Wi-Fi users need to reboot their laptop/PC. And, when the device opens, the “can’t connect to the network” error won’t be there.
Are there Any Other Solutions to Fix “Wi-Fi Error: Can’t Connect to the Network”?
There are hefty other ways to resolve “Wi-Fi error: Can’t connect to the Network”. If the above solutions didn’t work, consider clearing the DNS cache first. Right after that, renew/reset the IP to fix this connection error. Additionally, the Windows users can run the network adapter troubleshooter as well. Remove the existing connection, and then add it again from “Network and Internet”. You can try disabling the IPV6 to get rid of this connectivity error. For further solutions, connect with an experienced expert now.
