How To Enable UnP On ATT Router? (Comprehensive Guide)

Before discussing the methods that will help in enabling the UPnP on the ATT router, we need to have some idea of this. The UPnP, also known as Universal Plug And Play, allows direct data sharing across all devices.
You can only do this if your router is ATT 2 wire; that is, it can function as DSL and even as UPnP. In case your router is not the latest model, then the feature might not work. It could be the access point of your computer, printer and even other wireless devices.
They can even figure out each other’s presence on the wireless network. After logging in, the router will allow establishing a network for any functional service. Thus, if you want to enable UPnP on the ATT router, then follow the given information.
Here, we will help you to enable UPnP on the ATT router.
Fixes for Enabling UPnP on ATT Router
The fixes to enable the UPnP on the ATT router are not that complicated. It is quite simple, and you can easily do it all by yourself. Below we have discussed a few ways that will help you to enable UPnP on the ATT router. Follow the steps accordingly, and you will get the results:
Connect an Ethernet Cable Between Your Router and Computer
It is quite normal that if you have an ATT router, then you are using the internet through AT&T. As we know that phone companies provide internet service via phone lines and even fibre optic cables.
Therefore, at first, you have to connect the router with your computer through an ethernet cable. Ensure that the ethernet cable is in proper condition and not a damaged one. Connect one end of the ethernet cable to the yellow part of the modem.
And, the other part to the motherboard of the computer or WLAN card. After properly setting the connection, now proceed with the next part of the method as given in the next step.
Enter the Control Panel of the Router
After connecting the ethernet cables with the computer and router, now you need to go to the Control Panel of the router. To go to the Control Panel of the router we have discussed the steps:
- First, from the keyboard press the Windows key or you can also hit the Start icon present in the bottom left of the screen.
- Now, in the search field type the cmd. You will see that the Command Prompt will be displayed on your screen.
- After that right-click on the Command Prompt and click on the Run As Administrator option. Wait for the prompt to load, and then type “ipconfig” and press the Enter button to proceed further.
- A list of IP addresses will appear. Now, from the prompt, you have to copy the default gateway by highlighting it, and lastly hit the Enter button.
- Now, go to the computer’s browser and paste the copied default gateway and again press the Enter button.
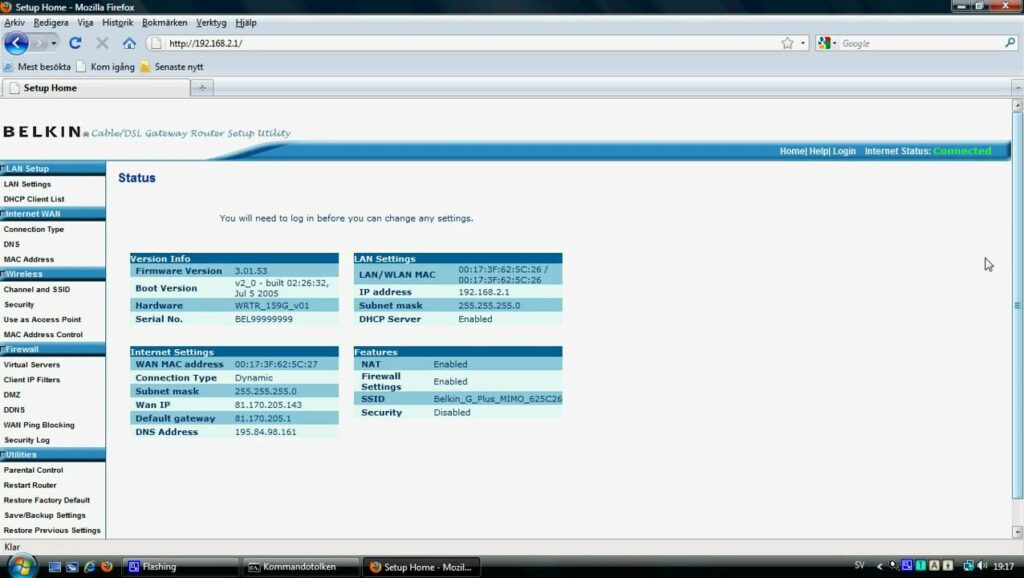
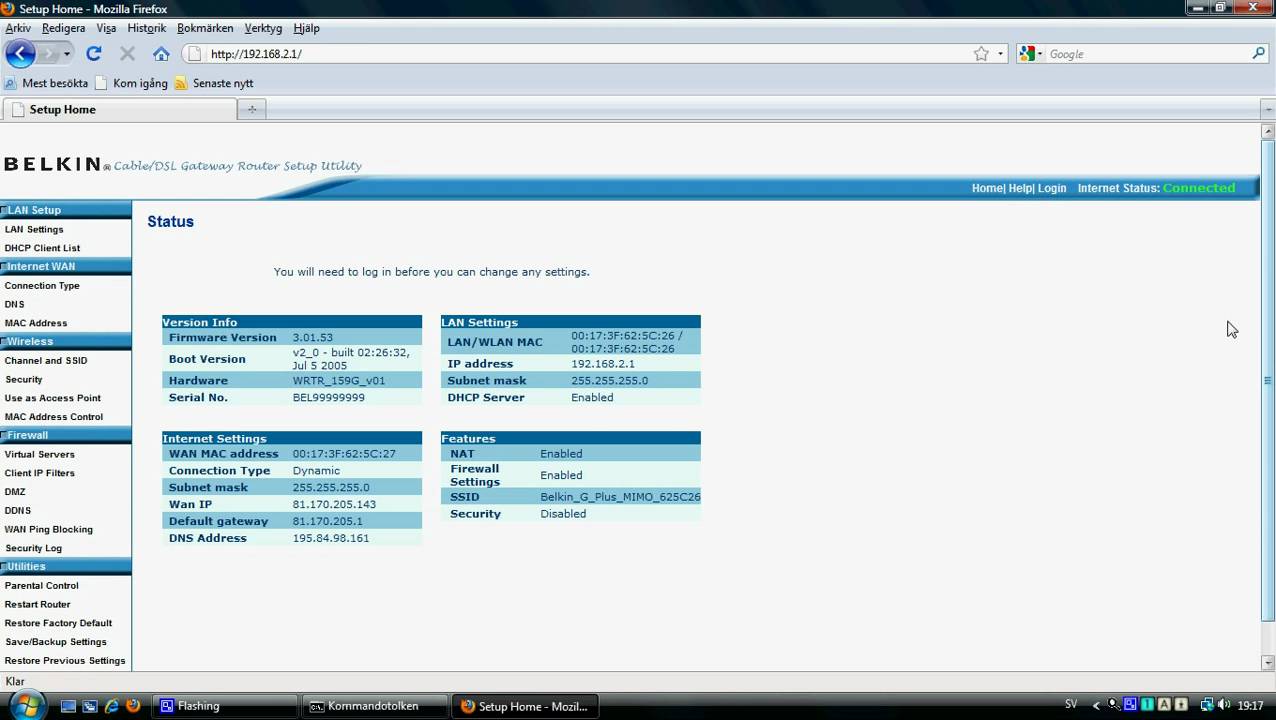
- Use your default login details to enter the box appearing on the screen and press the enter button. You will see that the Control Panel has opened up. After that proceed with the next step as given below.
From the Control Panel Enable the UPnP
After entering the Control Panel, go to the home network and you will observe a list of networks. Under the Advanced Features section, followed by the more function tab, you will find the UPnP settings.
It mainly depends on the router model, under which section the UPnP setting will fall. You can also go for the alternate method by pressing the Ctrl+F key together. This will bring up the search box and type UPnP settings then hit the Enter button.
How to Fix Upnp if not Successful?
In case you get a message that UPnP is not successful, then it occurs due to outdated firmware. In your network settings, you will get this error on the router’s Control Panel. You don’t need to worry as the fixes are quite easy.
The steps are as follows:
- First, you have to go to the router’s Control Panel and locate and select the Update tab.
- Under the update tab search for the Scan For Update option.
- The suitable firmware will be displayed on the screen, and you have to download and install it.
Conclusion….
So, these are the basic ways that you can follow to enable UPnP on the ATT router. The fixes are way too easy that you can solve them all by yourself. Just follow the instructions as given and you will be able to reach your desired result.
