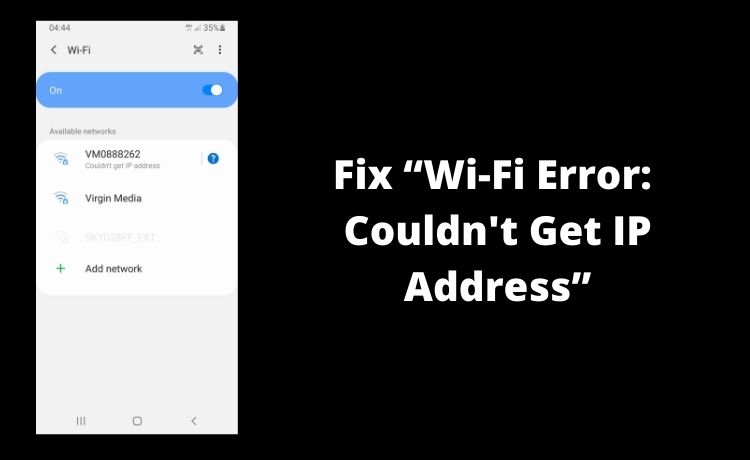
Getting “Wi-Fi Error: Couldn’t Get IP Address”? Here’s How to Fix It
Nowadays, almost 70% of Android users choose Wi-Fi over cellular data because it provides a faster and more reliable internet connection. But, sometimes, a ‘Wi-Fi error couldn’t get IP address” message can pop up while using the internet. Be it a private or public network, and this connectivity issue can occur anywhere. Usually, when the router fails to obtain the IP address of the Android phone, this error takes place. And, for this, you will no longer be able to use the internet.
This error can bring a lot of inconveniences, and especially there’s limited mobile data. Thus, try to fix this IP address issue at the earliest possible to get back the internet connection. Usually, a faulty router can cause issues in obtaining the IP address. Did you update the software of the Android phone? Then, the chances are high that you might have installed corrupted software on the device. For which, the router is unable to connect the phone with the Wi-Fi. It can also be because of Android’s network hardware glitch. Whatever the reason is, this error can be solved with a few troubleshooting methods.
Troubleshooting Methods to Fix “Wi-Fi Error Couldn’t Get IP Address
When you turn on the Wi-Fi of the Android device, it starts scanning for the nearest connection. After finding the network, it tries to get the device’s IP address. But, if something is wrong with the router, the connection won’t be established.
Thus, the device starts the scanning process again to find another connection. So, if you are getting a “Wi-Fi error couldn’t get IP address”, try rebooting the router. Most of the time, this solution helps to fix this network problem.
Moreover, certain apps claim to fix this IP address error. But, don’t download those applications in the first place. Because those third-party apps can cause more issues within the Wi-Fi network. Instead, implement these solutions so that the router can identify the IP address:
1. Change the Network Encryption of the Router
Sometimes, incorrect network encryption prevents the device from getting an IP address. In certain instances, you have to check the network encryption type. Usually, a router that uses AES encryption causes this Wi-Fi error. Even the routers with the TKIP encryption can be a reason behind this connection failure.
Thus, changing the network encryption type can resolve the “Wi-Fi error couldn’t get IP address”. Here is how you can reconfigure the router’s network encryption type:
- After logging into the router’s account, go to its settings. And, from there, look for the wireless network configuration option.
- Once you find that, tap on it and change the encryption type to “WPA2-PSK”.
- After that, select the “Save” option first, and then choose “Apply”.
You have to reboot the router after changing its network encryption type. After restarting the router, the “Wi-Fi error couldn’t get the IP address” message won’t display. Now, try to connect the Android device with the Wi-Fi and surf through the browser.
2. Turn off the MAC Address Filtering Option
Wi-Fi users often use MAC addresses to blacklist unauthorised devices. Thus, if the Android device is on the blacklist, it won’t connect with the Wi-Fi. As a result, the router won’t get the IP addresses of that device. Therefore, the Wi-Fi administrators need to turn off the MAC filter to fix this problem. But, the steps to disable the MAC filter might vary from one router to another.
3. Steps to Turn off MAC Filtering in a TP-Link Router
If you use a TP-Link router, open any web browser and go to the address bar. Write the IP address of the router and hit the “Enter” button. And, a window pops up on the screen – enter the right username and password there. The TP-Link router users need to move to “IP & MAC binding” next.
Go to the ARP list tab and look for the “Wireless” option. In this section, there will be the “Wireless MAC Filtering” option. Turn on the “Disable” option and choose the “Save” button finally. After this, the router can access the IP address of the devices within minutes.
Steps to Disable MAC Filtering in a Netgear Router
In the latest Netgear router models, you will find the MAC filter as “Access Control”. Consider turning that off by getting into the router’s setting. After that, search for the “Advanced” option over there. And, then tap on the “Security”, and then you will get “Access Control”. Toggle on the “Disable” option to stop getting the “Wi-Fi Error Couldn’t Get IP Address” message.
What are the Other Solutions to Fix “Wi-Fi Error Couldn’t Get IP Address”?
If the router firewall is enabled, it can block the device from connecting with the Wi-Fi. Thus, you have to disable the firewall to fix this connection error. Additionally, Android users should clear the Google Play Services cache. It sometimes helps to resolve the network issues of Android devices. Turn on and off the Airplane mode, and try to connect the device with Wi-Fi. And, if these solutions didn’t work, factory reset the Android device immediately.