Dish Hopper Won’t Connect to WiFi: How to Fix?

Dish Network is popular for offering IPTV services, internet connections, and so on. It’s better to get a combo of IPTV service as well as internet service.
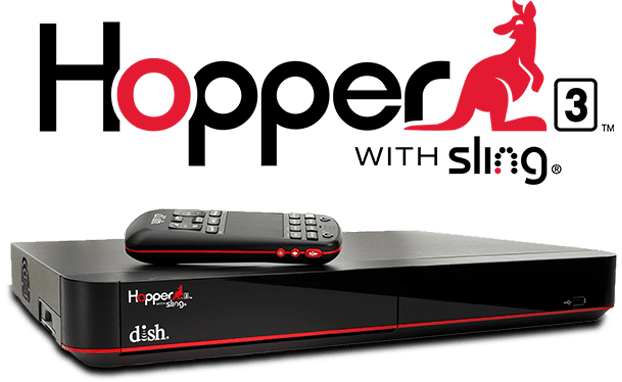
Therefore, Dish Hopper is an amazing device for the Whole-Home HD DVR experience. Dish Hopper saves more than 2000 hours of your favourite shows and movies.
Users have been reporting that they have been experiencing internet connections with the Hopper device. When Dish Hopper won’t connect to WiFi, you might miss all the prime-time entertainment.
Network outage or minor technical glitches with the Dish Hopper can lead to the Dish Hopper won’t connect to WiFi.
Let’s find out how you can solve this issue and resume your entertainment.
Restart the Dish Hopper Device
If Dish Hopper won’t connect to WiFi, you should restart the device. The chances are that internet glitches might prevent the device from functioning properly. If it is, you have to try this quick trick and let the device deal with its menace.
Locate the power button on your device and turn it off. Unplug the power cable from the Dish Hopper device and let it rest for a while. Then, put the power cable into the wall socket. Turn on the Dish Hopper and try connecting it to the WiFi connection. Check if it gets connected to the internet; otherwise, continue with the following solutions.
Reboot the Entire Network System
The first solution might not have worked as the error might be on the network components’ behalf. Restarting the router-modem duo can eradicate the network issue and provide you seamless experience. Users have confirmed that rebooting0 0the router and the modem can refresh the devices, and they can escape the network congestion.
Here’s what you need to do. Turn off your router and remove its power cord from the wall socket. Do that same with your modem if it’s a separate device. Now, wait for a couple of minutes.
Next, insert the modem’s power cable into the power supply and turn it on the modem first. Then, you have to do the same for the router. You can check if the LEDs on both the router and modem are flashing correctly. If not, then it’s some kind of error within the network components of your home wireless network.
Check the Network Configuration
Are you sure you have correctly connected the Dish Hopper to the internet? If you fail to configure the device properly, Dish Hopper won’t connect to WiFi. You should disconnect the device from the wireless network and reconnect it to the WiFi in the following manner:
- Use your Dish remote to establish the WiFi connection. Press the Menu option.
- Navigate to the Settings option under the Menu.
- Next, you have to go to the Network Setup icon.
- After that, you need to tap the Red button on the remote.
- Select the Wireless option, and it will let you see all the available wireless signals around you.
- You need to select the WiFi connection that you want to connect to.
- Next, you need to provide the right password to authenticate the wireless network connection. The on-screen keyboard will assist you in entering the password.
You should have connected the Dish Hopper device to the wireless network. Don’t forget to save your settings from escaping the configuration process every time you connect the Dish Hopper to the wireless connection.
Reset the Dish Hopper Device
The Dish Hopper won’t connect to WiFi if the device struggles with any inner issues. To retain its functionality, you need to reset the Hopper device. A simple restart might not be enough to revert back changes or misconfiguration on your Dish Hopper.
However, keep in mind that all the settings on the Hopper will be rolled back to their factory defaults. Locate the reset button on Dish Hopper. If you are a new user, take help from the user manual.
Once you have located the reset button on the device, press and hold it for three seconds. The DVR should restart after a while, and it will be just as brand new. Hence, you have to connect it to your home network using the previous connecting or configuration step.
Try Resetting the Router and Modem
If you are still experiencing the Dish Hopper won’t connect to WiFi, and you might have to reset your modem and router. By chance or mistake, Improper configuration can trigger connectivity issues among devices.
It’s better to reset them when you can’t identify what has gone wrong. Additionally, resetting your router and modem will save you time as you do not need to investigate and find out the culprit.
But, you should back up your router and modem’s network configuration before you reset them. Start with resetting the router. While it’s still turned on, press its reset button for 10 seconds. Repeat the same procedure for the modem. Next, you can release the reset button and let it get configured automatically.
This process might take some time. Therefore, keep patience, and once it completes, you can try connecting the Dish Hopper DVR to the wireless network. Check if the wireless network lets you connect the DVR to it.
Use an Ethernet Cable Instead of a WiFi
Unfortunately, the wireless connection might not be working for Dish Hopper. But, it shouldn’t stop you from enjoying your favourite movie or completing the anticipated season of your favourite web series.
You can connect the Dish Hopper to the router through an ethernet cable, right?
Well, you just need an extra Ethernet cable. Connect one end of the Ethernet cable to the dedicated port of the Dish Hopper. Use another end to connect to the router.
This doesn’t require you to come across complicated configurations. Try this when Dish Hopper won’t connect to WiFi. Contact Dish support if Hopper still can’t access the internet.
